There cherries’ jamalso improperly called cherry jam, is a delicious preserve that cannot be missing in the pantry. Obviously, you must be lucky enough to grow organic cherries in the family orchard to fully enjoy its flavor. To make cherry jam at home just a few ingredients are enough and the recipe is really simple and within everyone’s reach.
In this article, therefore, we will show you, with a detailed photo gallery, all the steps to prepare this tasty fruit jam.
Which cherries to pick for jam?
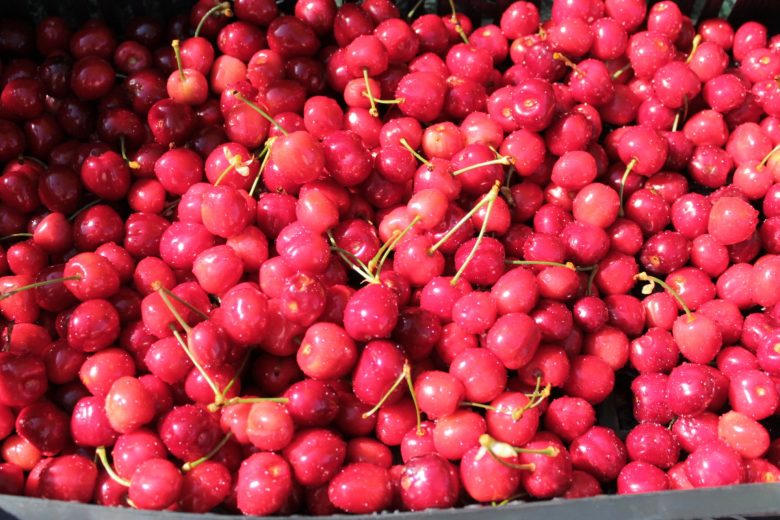
fruits collected and washed
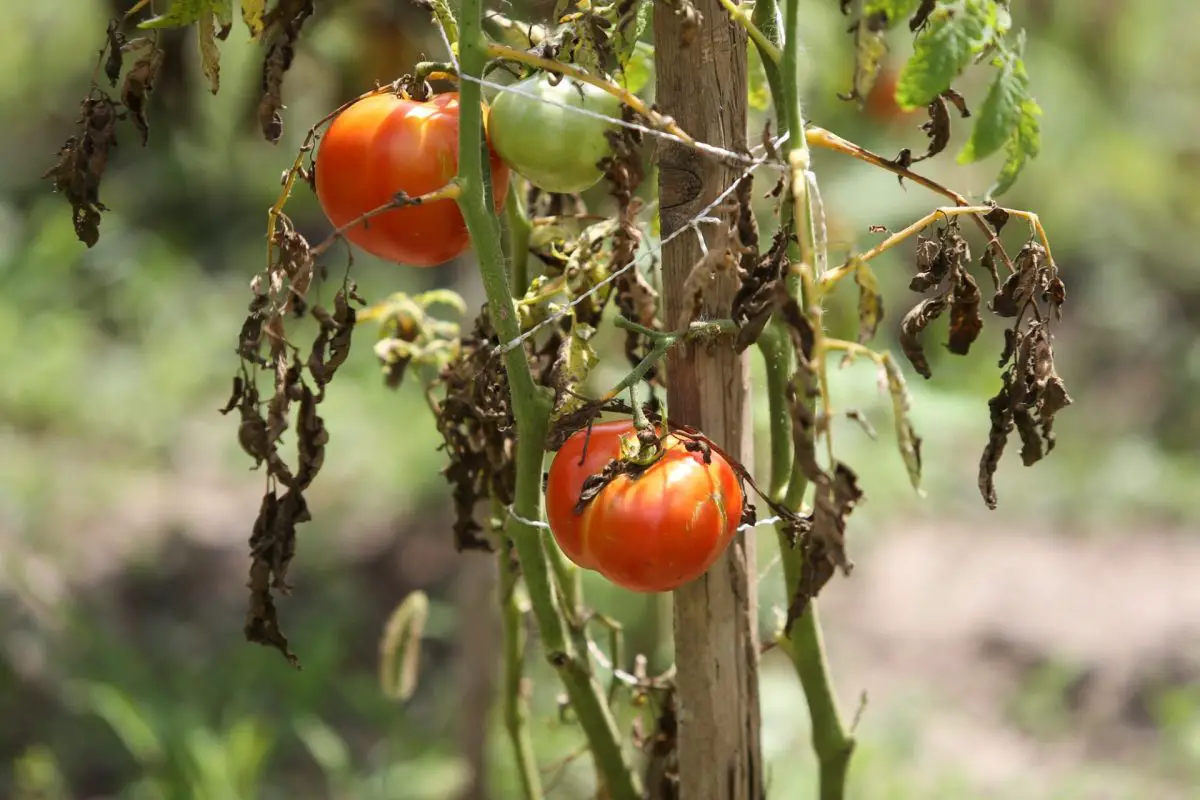
To make a good cherry jam we need freshly picked, but sufficiently ripe fruit. Therefore it is necessary to wait for the moment in which the ripening of the cherries on the tree reaches the maximum, considering the specific characteristics of the variety. The cherry trees do not ripen all the fruits in the same, usually it is done from the end of May until the beginning of July. Ours is a sweet and early fruit variety called Giorgia.
For the doses, keep in mind that the cherries must be deprived of the stalk and the internal core, therefore consider a crop surplus of about 30%. Its nutritional elements are mostly complex sugars and carbohydrates.
Ingredients for cherry jam
Here are the ingredients for the cherry jam:
- 1 kg of pitted cherries (1.3 kg per harvest)
- 250 g of white or brown sugar
- 1/2 juice lemon
How to make a cherry jam
In our cherry jam recipe we used about 2 kg of pitted cherries and, therefore, double the sugar (500 g) and lemon juice (whole). First, the fruits must be washed under plenty of running water, after which the petiole must be removed.
Stoning

stoning of cherries
This is the most laborious phase of the cherry jam recipe, as one by one the fruits are deprived of the stone (seed). There are several ways to remove the stone from a cherry. We initially used straws, starting from the attachment of the petiole and pushing the seed outwards. The size of the straw is perfect for the purpose, but their resistance is less.
We then tried to use a long wooden toothpick (good durability, but too small section), finally gave up and opened the fruit by hand. On sale you find special tools to do this, otherwise let yourself be guided by your imagination and what you have at home.
Add sugar and rest
After pitting your cherries and placing them in a fairly large container, it’s time to add the sugar.
We have opted for a low dosage, 250 g per 1 kg of clean fruit. This is because our cherries are quite sweet. According to your tastes (and the sweetness of the fruits) you can therefore increase or decrease the amount of sugar.
After having sprinkled the fruits with sugar, place the container in the fridge, cover it, and let it rest for 4-5 hours.
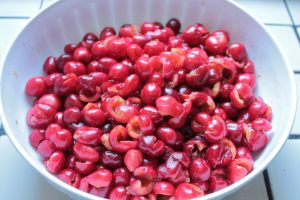
- clean cherries in the container
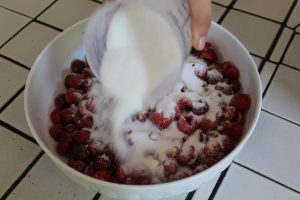
- adding sugar
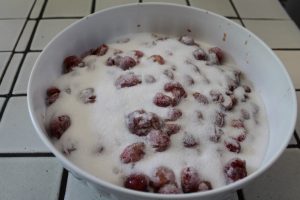
- rest of the cherries in sugar
Start of cooking
After the time has elapsed, the time for cooking arrives. Use a pan or a non-stick pan, large enough and pour the cherries with the sugar, after a good stir. To clean the container and not lose any of its contents, pass a little water and then drain in the pan, with cooking the water will evaporate.
Cook over medium heat, stirring occasionally with a wooden ladle. After a few minutes you will notice that the fruits begin to wilt and lose liquid.

- cherries in the pot
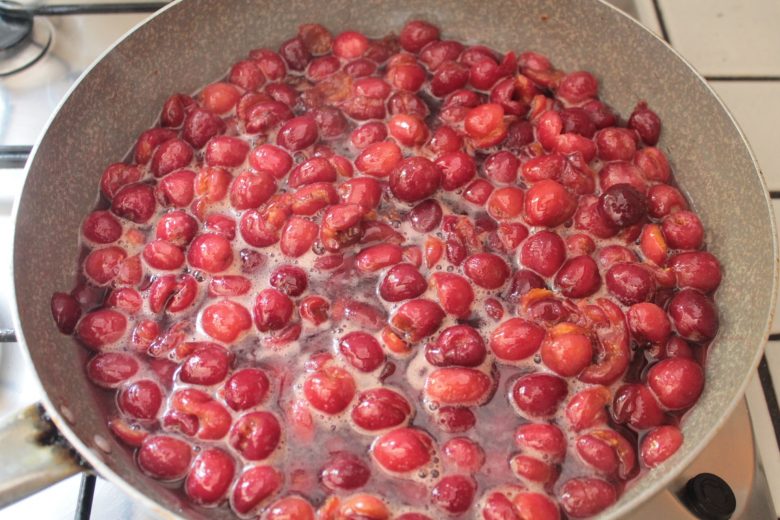
- start of cooking
Vegetable mill
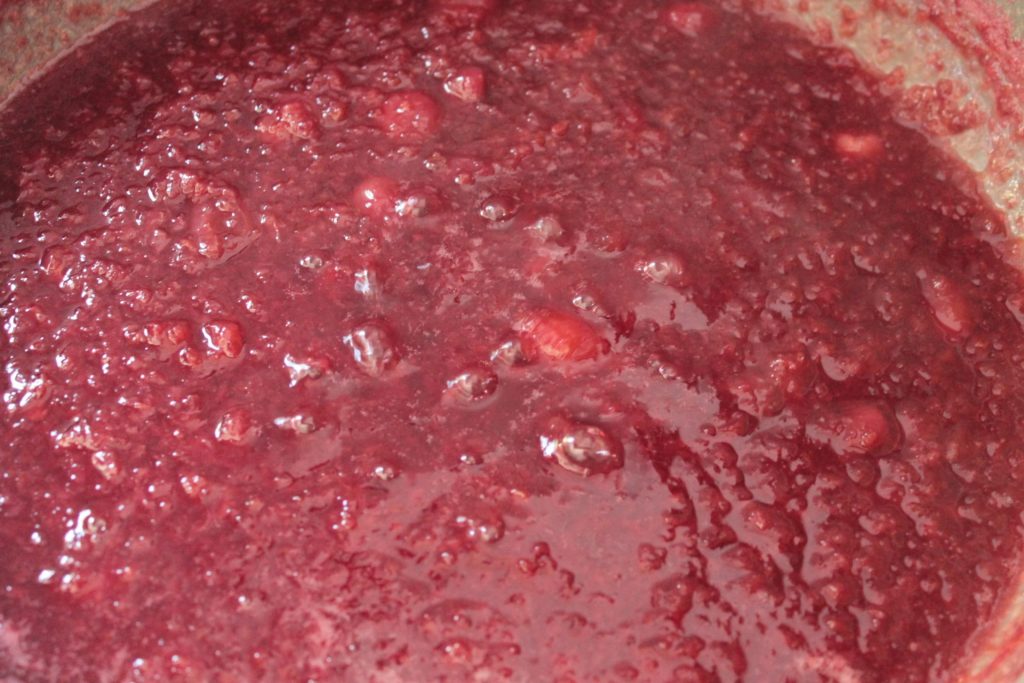
When the cooking is at a good level and the fruits are decidedly soft (about 30 minutes) you can make a switch to manual vegetable mill. We used the coarse filter, the one for potatoes. With this step we speed up cooking and obtain a homogeneous pulp, even if quite coarse. Not everyone does it, there are those who prefer to obtain jam with chunks of fruit (we have some of us left).
The processing in the vegetable mill is done directly above the pot, so as not to interrupt the cooking and lose product.
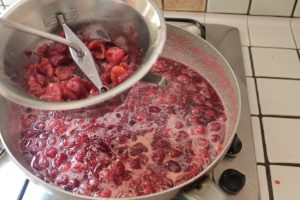
- passage to the vegetable mill
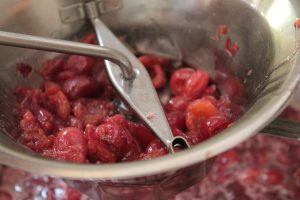
- cherry pulp
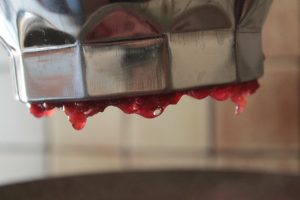
- detail of the pulp
Adding the lemon
After the reduction with the vegetable mill, continue cooking, always over medium heat and paying more attention to mixing. Our cherry jam begins to shrink significantly and there is a greater risk of it sticking to the pot.
At this point, lemon juice is added, which has the role of natural preservative and astringent of the jam. A little is enough, a lot depends on your tastes, but it is certainly essential for a good final result.
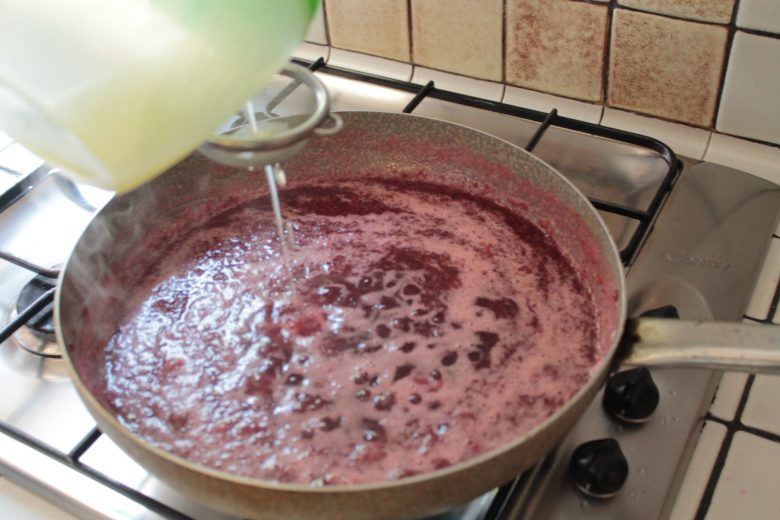
addition of lemon
Foaming
Another step to do during cooking is the removal of the foam that forms on the surface, this will allow us to obtain a clear cherry jam without impurities. We then did this with a simple spoon.
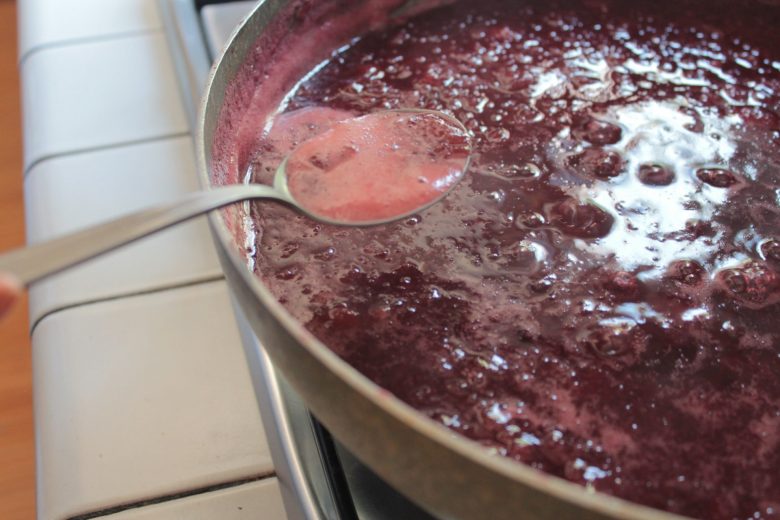
foaming
Try some cherry jam in the saucer
At this point, after about 90 minutes of cooking, our cherry jam is ready. To make sure that an adequate consistency has been reached, the classic saucer test is carried out, by dropping a drop of jam on the surface. If it stays stuck we are there, if it slips away too easily you have to continue cooking.
- end of cooking
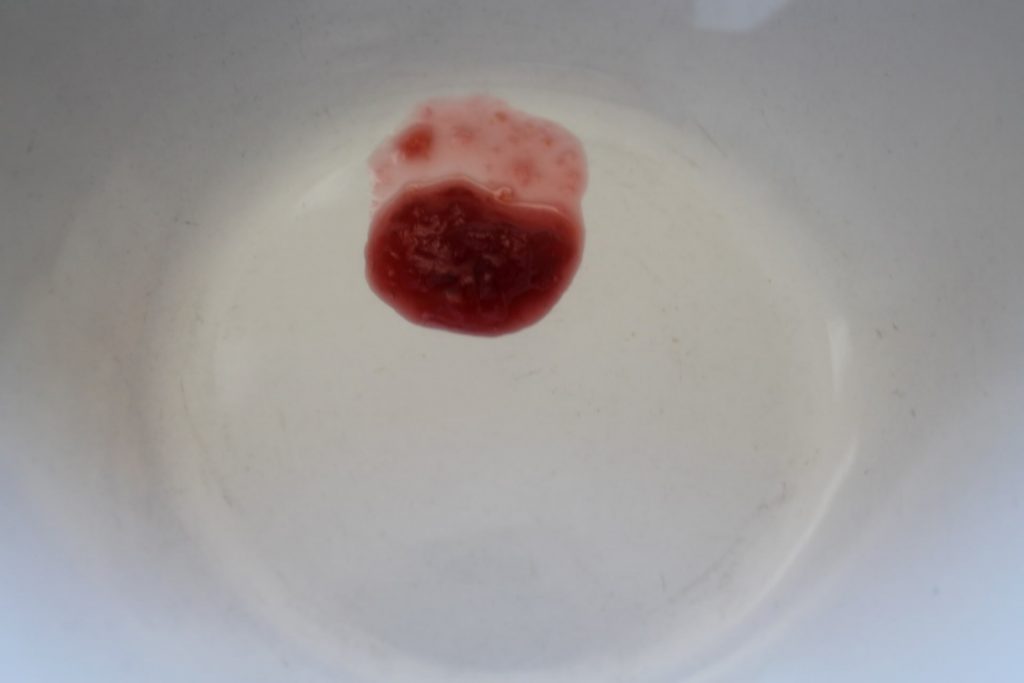
- test of the saucer
How to vacuum-seal cherry jam
After cooking and when the cherry jam is still hot, we proceed to pot it, using glass jars that we will have previously sterilized. If, of course, the jars can be reused, use only and exclusively new caps. It is in the corks that molds lurk that spoil the preserves.
Once the jars are firmly closed, we place them upside down for at least one night. In this way, thanks also to the residual steam of cooking, we will obtain the vacuum of our jars of cherry jam.

- Cherry jam in the jar
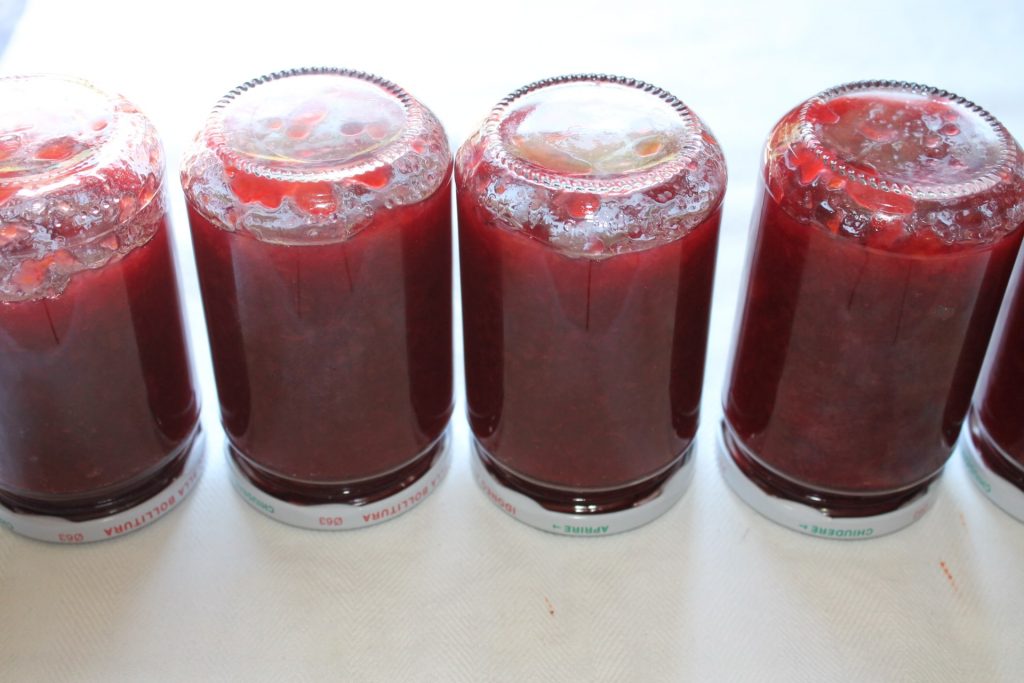
- Vacuum packed cherry jam
Yield and conservation
We have therefore reached the end of our cherry jam recipe. From 2 kg of pitted cherries and 500 g of sugar we obtained 5 jars of 314 ml of jam, an excellent yield!
The jam can be safely stored for 6 months, the important thing is to keep it in a cool and dry place. Once the jar is opened, however, it must be kept in the fridge and consumed within a week. Enjoy your meal!

Start a new Thread